|
Portrait Demo: Lighting in the Desert |
||
|
(This page
opened in a new window. |
||
| These are shots taken during the Portrait Class field trip to Clark's Lake in Anza Borrego State Park. The objective was to show how one can take normal studio lights and use them in places where there is no normal power available. Here power is supplied by a marine/deep cycle 12 volt battery and a 1200 watt pure sine wave inverter. | ||
| In this environment the goal is to shoot when the sun is just starting to fall behind the mountains to the left of the screen (we are looking more or less north in these shots). The problem is that from the time the sun starts to put the lake bed in shade and leave light on the background mountains, until it goes fully in shade is only 15-20 minutes. So we needed to set up early then wait for it. Except as noted, the shots below are right out of the camera/ converter. |
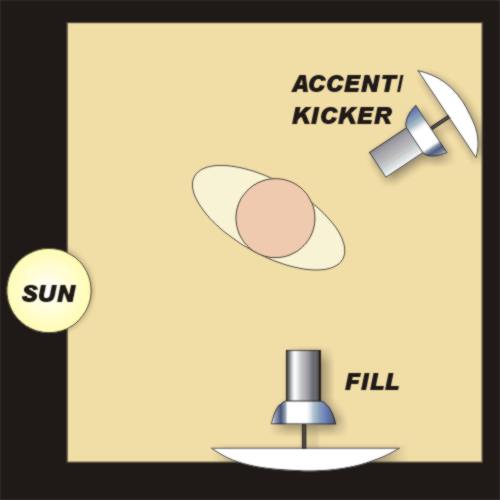
Lighting Set Up 1. Main light. The Sun is the starting main light here. 2. Fill light is a 30" square umbrella on a Photogenic Powerlight 1500 at full power. As the sun drops this will morph into the main light. 3. Accent/Kicker is a 12" Square umbrella on a Photogenic Studio Max 320 at 1/2 power. |
 |
|
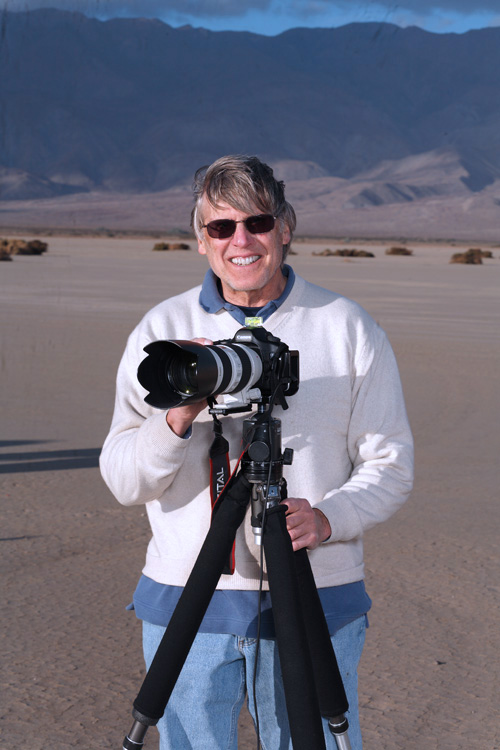
SHOT 1 I commandeered Terry Allen, one of the students, to be my test subject as I set up the lights. Here the sun light has not yet shaded the lake bed but it gave me a chance to get a starting reading, a good aiming point and then I could see where to put lights and calculate the exposures needed. Basic starting exposure for ambient light was f16 @ 1/60th for ISO 100. I am shooting with a Canon 5D using a Canon 85mm f/1.8 lens. |
|
|
|
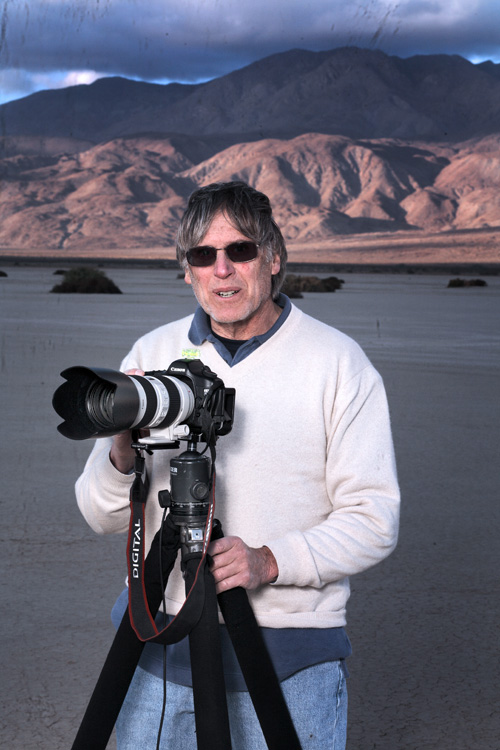
SHOT 2 Lights roughed in, the first step was to test for the fill light. As the sun goes down this fill will slowly start to take over main light duties so placement has to consider that. Here it was placed in a Paramount/ Butterfly position in front of the subject and high enough to create the typical shadow patterns of that style. You can see the sun moving up the mountains in the background, the shadow spreading on the lake bed, and Terry being somewhat surprised by this test exposure. This exposure was the same as for the first test, f/16 @ 1/60 |
|
|
|
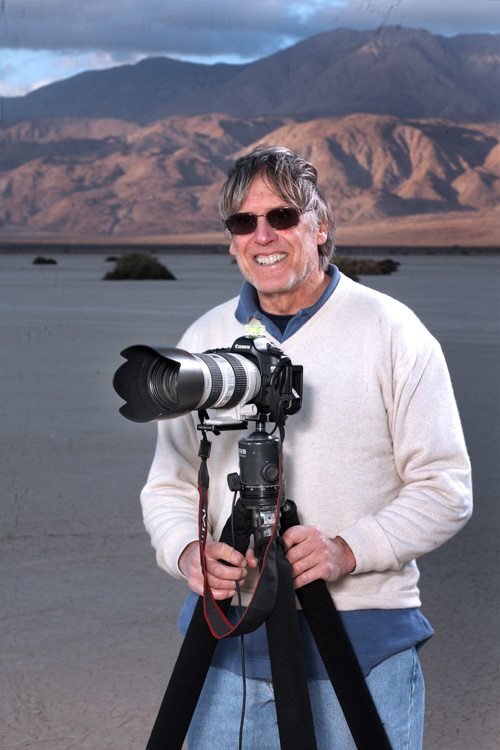
SHOT 3 Here the accent kicker was turned on and the lighting adjusted. Now we had to shoot fast with the various student/subject combinations. (The next shot below is an edited version of this shot) Here for my final test I left the aperture at f16 for the fill (now main) strobe but opened the shutter to 1/30 to slightly lighten the background for a better match with the previous shot as the light is fading fast. Using lights this way, once you have a match between strobe and ambient, then you can adjust the strobe exposure using the aperture and adjust the ambient exposure with the shutter. |
|
|
|
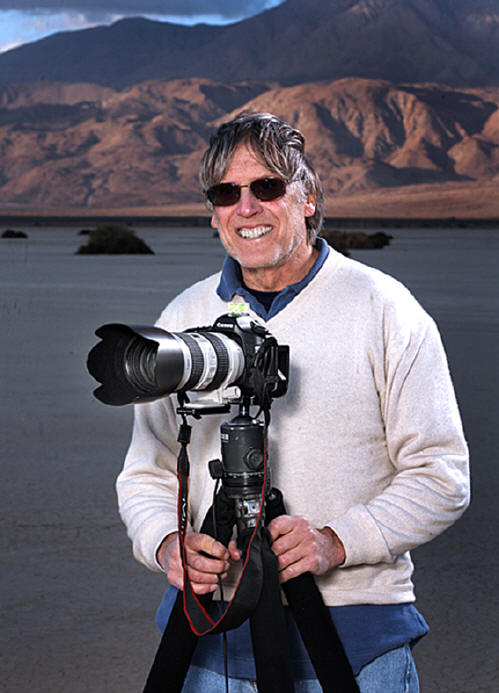
Shot 3 (Edited) Here is an edited version of the shot above. Although I set exposure to match for starting points for students, I actually decided I liked a darker background so the subject would stand out better. Since the shot was already done I did the darkening in the edit. And I cropped it a bit. |
|
|
|
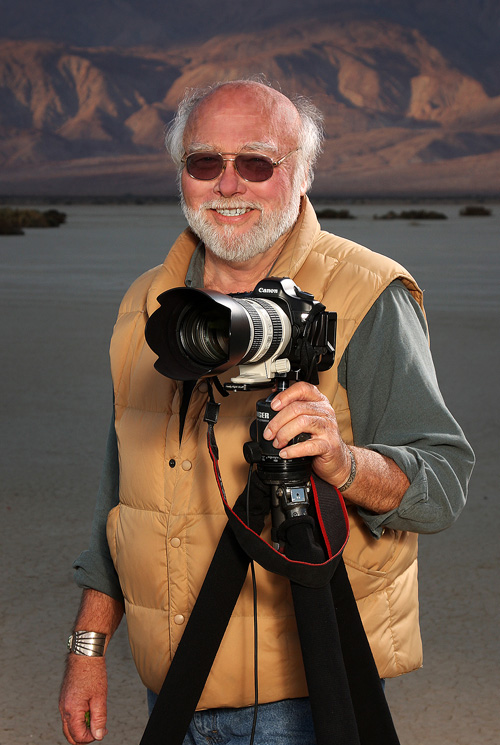
Shot 4 Once the general lighting was set up, students then took their own shots of other subjects... including me when they got really desperate for something to photograph. This
one was taken by Susan Stutz. You can get a clue about the extent of the effect of dropping the background with the shutter by looking at my glasses. These are "transitionstm" lenses and are dark because it is still pretty bright out overall.
Meantime... |
|
|
|
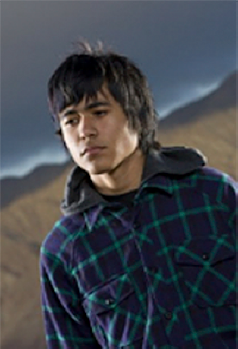
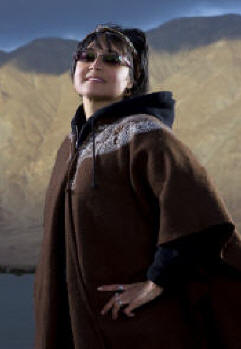
Shot 5 ...Meantime Clayton's setup to emulate Joel Grimes's lighting approach also yielded some excellent photos. This is textbook "Core" lighting right out of the old film noir publicity photos but brought up to date using modern strobes and digital processing. Core lighting uses two kickers to replace the "Key" to provide the side lighting. Then, depending on their placement that light can be a sliver or start to extend onto the face. Traditionally done with dramatic low key lighting approaches, in this case the "core shadow" on the face is filled with the beauty dish instead of being left dark. For the right shots it can be extremely effective. |
|
|
End of Page